|
Tools:
-
Scissors–don’t use your best fabric shears!
-
Rotary cutter, ruler and mat (you could use
scissors instead)
-
Sturdy pins with ball heads
-
Iron & ironing board or mat
-
Pressing cloth or appliqué pressing sheet (I
sometimes use baking parchment paper)
-
Sewing machine with light color bobbin
-
Threads–clear nylon or polyester thread and a
colored thread (variegated is nice) for stitching around the
outer edge of card
Instructions:
(click on image for closer look) |
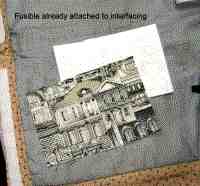
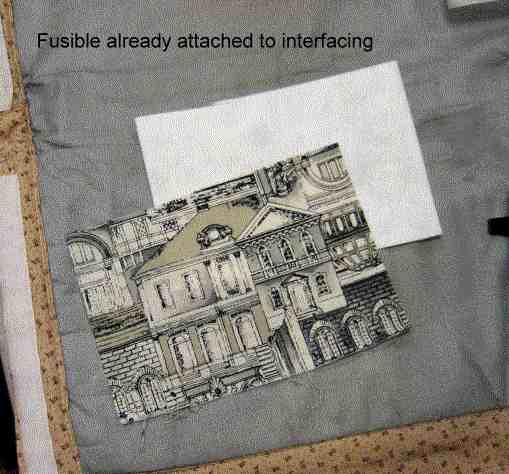
-
Fuse one piece of fusible web to Timtex or
interfacing.
Marje's Note: I used hat brim weight
interfacing.
-
Cover with background fabric and fuse (this
can be one or more pieces of fabric).
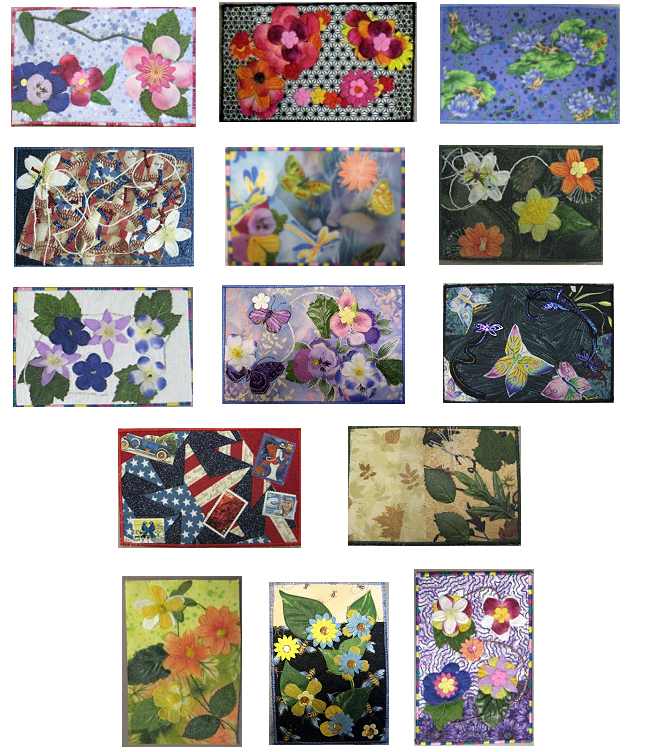
Marje's Note: This was a great fabric to
use as a background. I should make a series of city garden
postcards.
|
Figure 1
 |
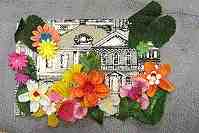
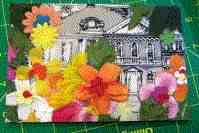
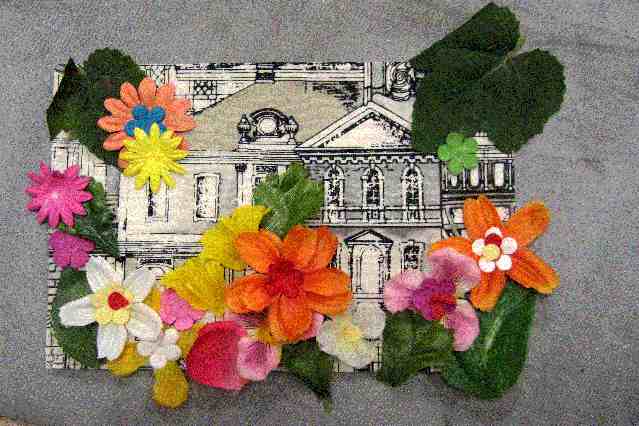
- Arrange flowers, leaves,
motifs, threads, and ?? on top
of background fabric fused to
interfacing. Remember these need to be as flat as possible.
Some people had luck using glue to keep elements in place.
|
Figure 2
 |
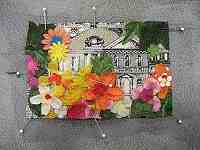
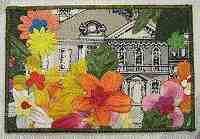
-
Cover flower arrangement with tulle.
-
Secure tulle and flower arrangement with pins.
Tip! First secure by simply poking pins into interfacing at an
angle almost parallel to face of the card. After enough pins
have secured the elements, pick up the piece and push the
points of the pins on the backside back into the interfacing.
|
Figure 3
 |
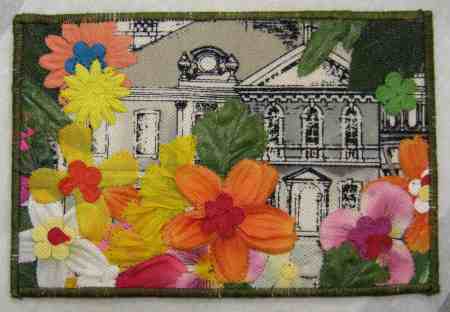
-
Thread the sewing machine with clear
thread–loosen upper thread tension on sewing machine.
-
Straight stitch or free-motion stitch along
edges or right next to elements so that they are secure and
will not shift. Add additional stitching as desired.
|
Figure 4
 |
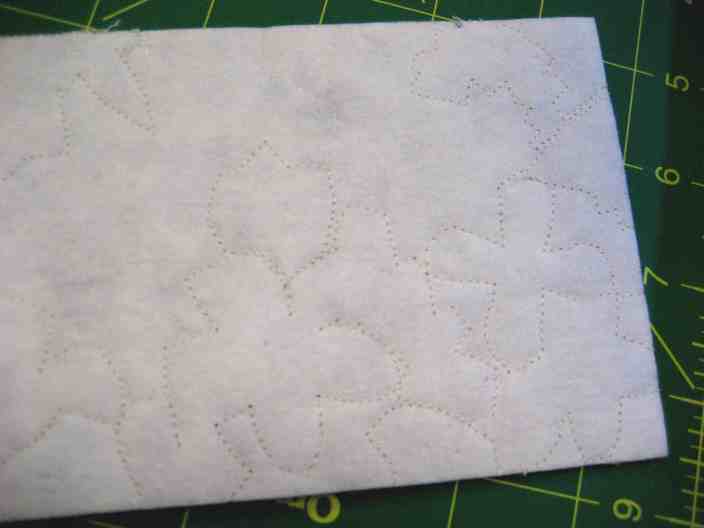
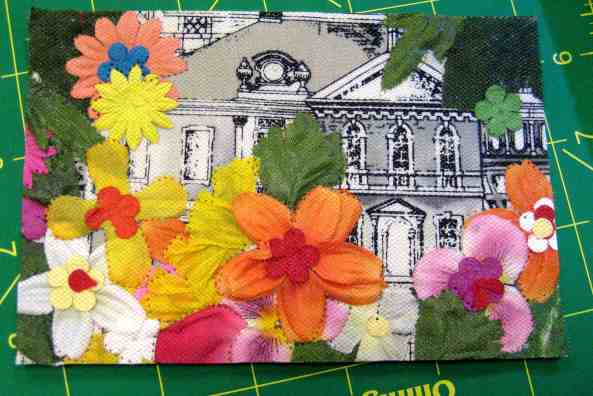
- Trim the card as desired.
Standard postcard size is
4" x 6".
- Apply last piece of fusible
web to back of postcard. Fuse muslin to postcard back. Trim as
necessary.
|
Figure 6
 |
-
Thread sewing machine with colored thread and
satin stitch (small zigzag) around edges of postcard.
-
If you plan to mail the card, use an existing
postcard as
an example of how to layout areas for addressing
and message. Check post office
website for postage to attach to your new postcard.
|
Figure 7
 |
|
FINIS!
©2007 Marje Rhine - Quilt Design NW
www.QuiltDesignNW.com |
